On 10th of April is mother day.
Here some inspirations for to say thank you to our mums!!
Breakfast
Link: http://www.butlers.de/shop/index.php
Familiy Tree Photo Cards
A handmade card with photographs depicting different generations shows that the things mothers and daughters have in common transcend the passing styles of the times.
Tools and Materials
Color copies of photographs (enlarged or reduced in scale); cut into 2-inch squares
Card stock
Colored paper
Scissors
Craft glue
Bone folder
1 yard of thin ribbon
Tent Card
Fold a 6-by-12-inch sheet of card stock in half crosswise; the fold is the top of the card. Glue a 5-inch square of colored paper to the center of the front of the card. Glue one photo onto each colored square, as shown. Glue a length of ribbon around edge of card, and tie off at the last corner.
Accordion Card
Fold a 6-by-24-inch sheet of card stock at 6-inch intervals. Use a bone folder to create sharp creases. Glue a photo on each accordion fold, as shown. Frame each photo with four lengths of ribbon; affix with craft glue. Write each person's name under her image
Link: http://www.marthastewart.com/
Donnerstag, 30. April 2009
Moterhs Day
Say thank you
To say thank you is not so easy,
I saw this nice idea for wedding pictures or the music from your wedding


They have also everything you need to easily create the perfect wedding invitations and much more for your special day — from invitations to save the dates, wedding favors, thank you cards, wedding programs.... And the price is really ok!!!
Have fun to design your own papeterie!!
Mittwoch, 29. April 2009
Place Settings

Dienstag, 28. April 2009
Birdcage Veil, Head Piece
Diese Veils finde ich großartig! Wer nicht auf seinen langen Schleier verzichten möchte, kann nach der Trauung den langen, gegen einen Birdcage Veil tauschen!!!
Ich habe nachstehende bei einem neuen Etsy Shop entdeckt - nachstehend der Link!


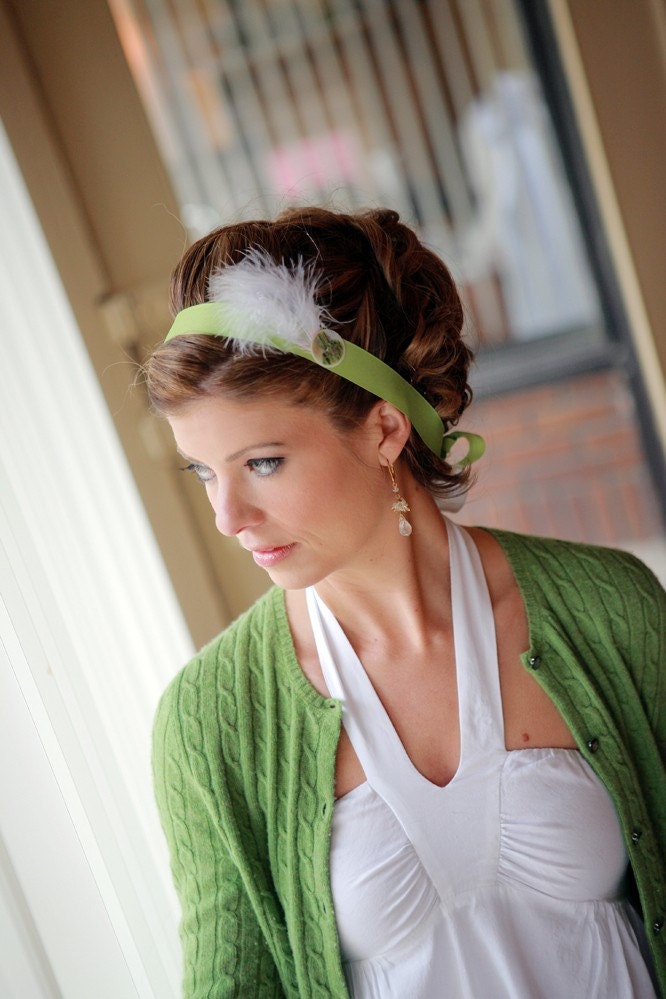


DIY - Veil, Hair Flower, Birdcage Veil
Finding the perfect accessory for your hair is tres important when it comes to completing your wedding, for the bride, the bridesmaids or the guests

Fabric: Tulle (be creative and select different sizes and textures to create contrast)
Beads/Gems (from your local bead shop.
Rhinestones, crystals, clear beads add sparkle and a bit of elegance to your handmade creation)Comb (Any beauty store or Target should have this)
Feathers (try craft stores, like Michaels)
White thread, sewing needle and fabric glue that dries clear
Step 1: Gather the materials and lay them out. You’ll want to cut the tulle in a few different sizes. This way you can play to see what combinations you like best
Step 2: Once you have the combination you like, gather the tulle in a bunch on the comb so you can stitch the two parts together. Make sure it’s stitched tight. Play with the tulle to make sure it’s falling nicely across your face.
Step 3: Now you can begin to add gems and feathers. You’ll want to add a cluster of gems on top of the comb to hide your stitching. Then add rhinestones and feathers to your liking.
Step 4: Tuck the comb into your hair and drape tulle in front of your face…You’re done!”
If you ar not the bride, give the tulle away, you can also use a pretty flower
or make it in a different color!!!
Link: http://100layercake.com/blog/archives/category/diy-wedding/page/2
DIY - Soaps, Giveaway
I love this beautiful giveawy!!!

Here’s what you need for the project:
Soap base (available at Michaels). We used the goat milk base for ours
Soap molds (also from Michaels http://www.michaels.com/art/online/home)
Soap base (available at Michaels). We used the goat milk base for ours
Soap molds (also from Michaels http://www.michaels.com/art/online/home)
Herbs, oats, tea, essential oil, anything you want to use to flavor your soap.
We decided to make three flavors:
Lavendar Oatmeal (fresh lavender flowers, lavender essential oil, oats)
We decided to make three flavors:
Lavendar Oatmeal (fresh lavender flowers, lavender essential oil, oats)
Chai Tea (steeped tea for color and scent, plus dry loose tea for a little texture)
Chamomile Calendula (dried chamomile and calendula flowers)
Here’s what you do:
1. Melt soap base (stirring often over medium heat)
2. Add “seasonings”
1. Melt soap base (stirring often over medium heat)
2. Add “seasonings”
3. Mix well and long enough for flavors to distribute evenly
4. Pour liquid soap into molds
5. Uncork champagne and enjoy the afternoon waiting for your soaps to set!


Once your soaps have set (overnight, or we found you can refrigerate them for a few hours), you have to package them in maximum cuteness. We wrapped ours in unbleached parchment paper (in the same way you’d wrap a gift), then added a band of vintage wallpaper for decoration. We made tags using a grocery bag and a 1 1/2 inch tag punch, and tied them on with baker’s twine


http://100layercake.com/blog/archives/531#comments
Montag, 27. April 2009
Perfect Wedding Programs Part II


Program Pockets
Set the tone right from the start by
greeting guests at the ceremony with aqua
and red programs suspended from every seat.
Loose pages rest inside the pocket
of an oversize blue tag; its damask-style pattern
is added with a rubber stamp.

Set the tone right from the start by
greeting guests at the ceremony with aqua
and red programs suspended from every seat.
Loose pages rest inside the pocket
of an oversize blue tag; its damask-style pattern
is added with a rubber stamp.


Bow Programs
To make these programs (one letter-size
To make these programs (one letter-size
sheet yields two progrmas), arrange your
text horizontaly on the page in
landscape mode over four columns.
Cut the sheet in half,
wrap a 10-by-7/8-inch band
arround the center and tuck them under the band,
making sure they overlap slightly.
text horizontaly on the page in
landscape mode over four columns.
Cut the sheet in half,
wrap a 10-by-7/8-inch band
arround the center and tuck them under the band,
making sure they overlap slightly.

Perfect Wedding Programs
 Rows of Prose
Consider having your vows
calligraphed or printed in
on envelopes and stashing
programs inside.
 Take a Bough
Branch out beyond typical wedding programs
by adding a touch of Druid fun an whimsy to them.
"What Tree Did Aou Fall From?" a Celtic version of astrology,
is the perfect distraction for those waiting the Wedding March.
Daisies for Birthday
How sweet is this birthday table?
 tin buckets filledwith daisies

Daisy Cake, Martha Stewart

Abonnieren
Kommentare (Atom)
